
unRAID 6.5 Hackintosh VM High Sierra 10.13 Guide
/The sort of "Guide"
In this "guide" you will find exactly everything I used to make this happen. Some things can be changed to fit your specific needs BUT I haven't tested anything else beyond what you will see and find in this guide.
I am a bit hesitant to call this a guide because of the lack of guidelines, however, everything that is found here has helped me successfully build a few OSX VMs on my server.
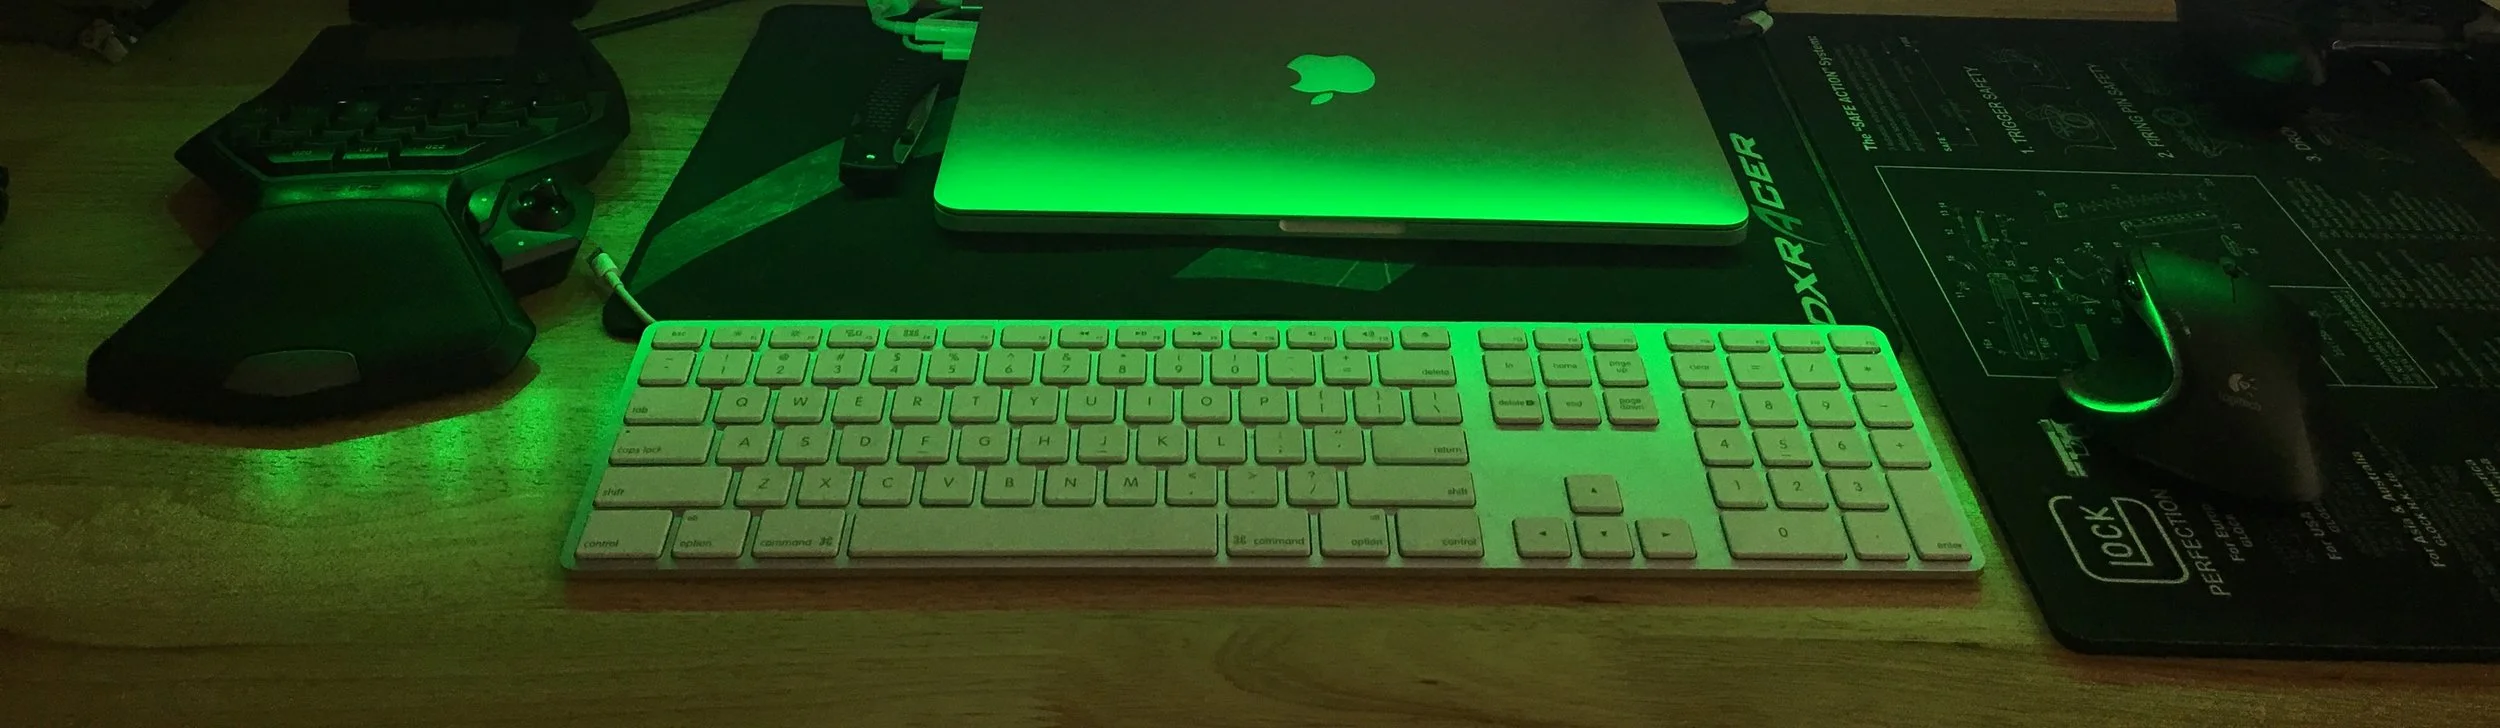
VM is running osX High Sierra 10.13
System Specifications
SanDisk Ultra Fit (unRAID boot USB Flash Drive)
Dual LGA 2011 2670s (Also tested and working with 2690)
Other Hardware Used
Samsung USB Flash Drive (Transfer drive for the required OSX Image)
Preparation
Go ahead and download the following in preparation for deployment.
Instructions I followed
Follow everything below as closely as possible.
Use the unRAID USB creator to install unRAID 6.4 or higher ( I used 6.5 stable) onto your SanDisk Ultra Fit USB Drive
Notes for the Instructions
Step 1: unRAID USB Creator/Installer
These are the options I used.

Step 2: High Sierra USB Installer
Follow the steps in this video to the T!!!! You may find that you will need to repeat this step should you experience problems when you go to actually install OSX in unraid.
If you have trouble getting OSX to boot into the installation, I would highly recommend starting over from scratch. It's a pain, butt it will more than likely solve some problems.
Step 3: Install High Sierra in unRAID
When following this video, when you create the secondary vdisk, make sure to use qcow2 instead of RAW. I personally had much better luck with qcow2 vDisk type than RAW.
Also, I manually created a vDisk Location on my SSD as seen below.

While creating your VM, you cannot assign more than 16 CPUs. I have yet to find a way to assign more than 16 CPUs. In the video, SpaceInvaderOne explicitly tells you to select a realistic number of CPUs for your VM, so keep that in mind when following the instructions.
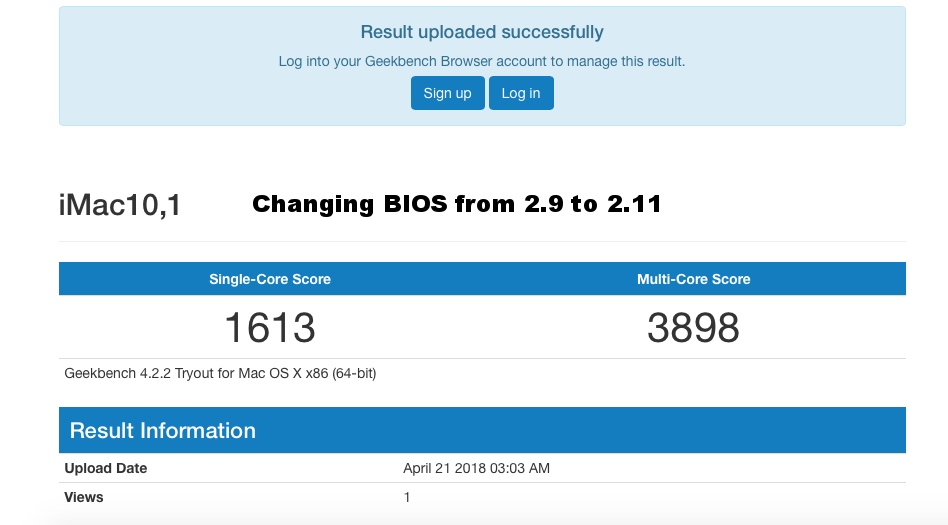
Below is what my CPU configuration looked like. You can use a BIOS version of Q35-2.9 through Q35-2.11. I used Q35-2.11 in the final version of my OSX VM. I would highly recommend starting with 2.9 until you have mastered the entire installation process.

Step 4: PCI-E Pass-through
This part was pretty straight forward. For my GTX 1050, I used drivers from here.
Enable some kind of Remote Management BEFORE doing GPU Pass-through, save yourself some hassle.
I have yet to get sound working...
Lessons Learned
YouTube Video
In this video I briefly go through the steps found here and mention some of the work-arounds I had to do to get it to work. This was my first successful attempt at installing OSX. I have made very few changes since this video has been released.
Enable Remote Access
If you already have a working MAC, do yourself a huge favor and enable Remote Management on the OSX VM before you do GPU Pass-through.
Go to System Preferences > Sharing
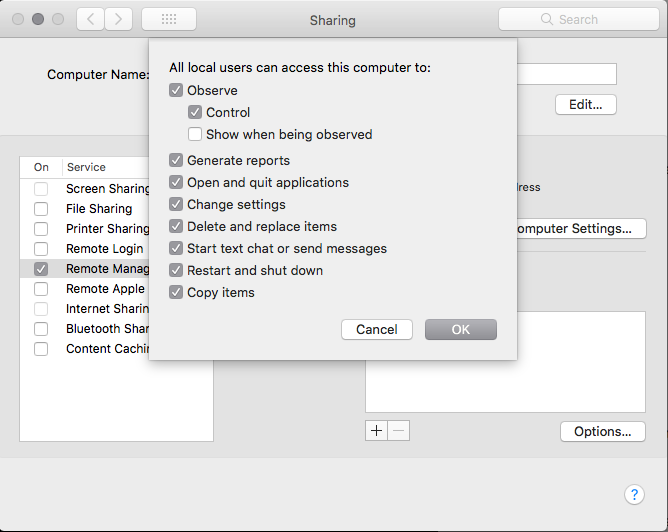
This really helped for all sorts problems. Also, between two MACs, you can drag and drop files and get full keyboard and mouse functionality. This is especially helpful if you do not want to pass-through USB PCI-E cards. There are other cool features that are super helpful too if you enable Remote Management.
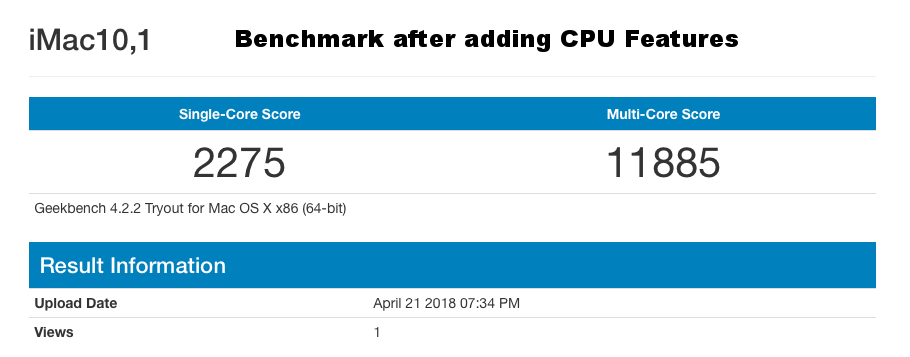
Improve CPU Performance
So this will only really work if your CPU supports these features, with a little research you can find out if it does or does not but if you are using CPUs similar to mine, it should.
Copy and paste the following into your XML
<qemu:arg value='Penryn,vendor=GenuineIntel,kvm=on,+invtsc,+avx,+avx2,+aes,+xsave,+xsaveopt,vmware-cpuid-freq=on,'/>The bottom of your XML file should look similar to this, with the CPU features added.

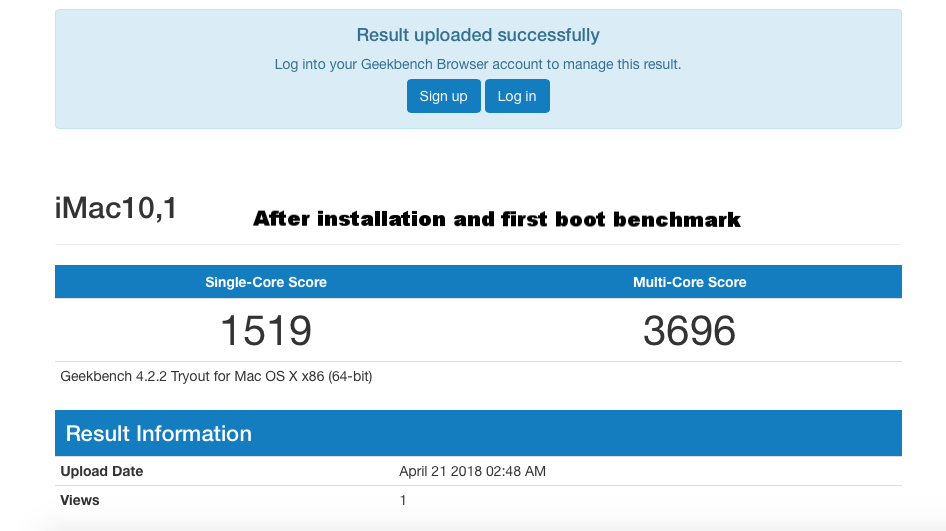
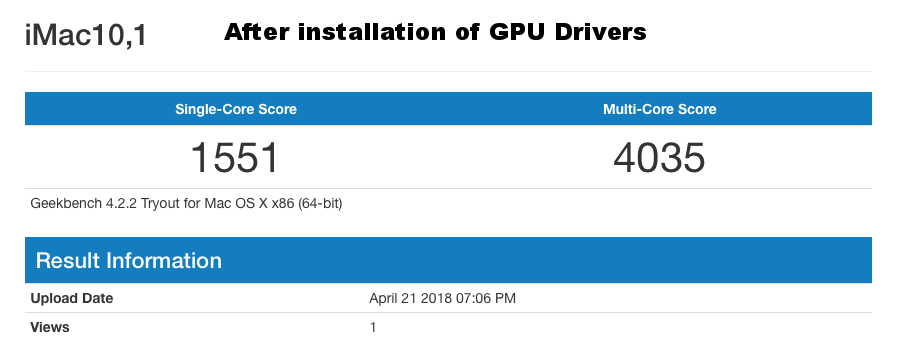
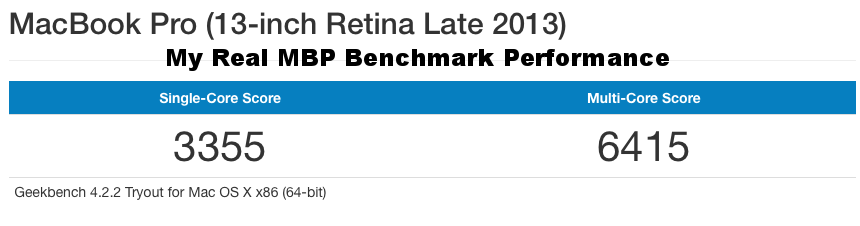
Benchmarks
Cycle through the gallery here to see some benchmarks after getting through the process.
Source and Credit
BIG THANK YOU to all those who have helped make this happen. Especially to those who worked behind the scenes and not in the lime light!
SpaceInvader One
This is only really possible thanks to the efforts of SpaceInvader One. Please show him some love:
All Others
Folks at https://www.insanelymac.com/forum/
Folks at LimeTech
Folks on Reddit
And anyone else I may have forgotten!